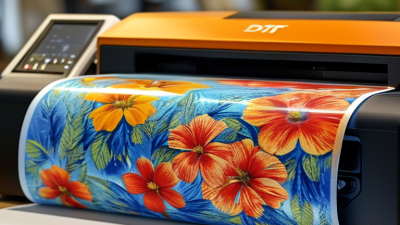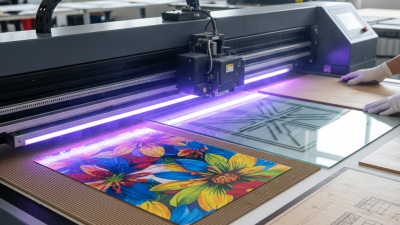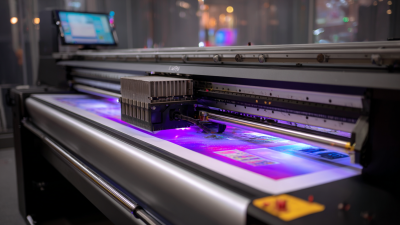
Choosing a China-made A1 or A2 UV printer for visual positioning starts with the work you need to produce. A camera-guided system can locate printed graphics, labels, or product edges and help align artwork before printing. That matters when items are placed by hand, or when their shapes make fixed-jig positioning impractical. Small details matter.
An A1 A2 Visual Positioning Uv Printer should be assessed by more than its advertised print area. Ask how its camera detects registration points, how the software handles curved or irregular objects, and whether operators can correct alignment easily. Check printhead configuration, supported materials, ink curing, bed height, and the stated accuracy conditions. A demo using your own sample pieces is more useful than a perfect-looking showroom image.
Reliability also depends on routine practice. Camera calibration, clean lenses, stable lighting, and consistent placement can affect results. Still, visual positioning does not remove every setup error, and it may add time when products vary widely. That takes testing. Compare service access, training, spare-part availability, and warranty terms with the machine’s specifications. Ask the supplier to explain which results are measured, and under what conditions. A careful comparison can reveal whether an A1 or A2 format fits your production volume, workspace, and product range. The right choice is not always the largest model or the lowest quote. It is the printer whose positioning process works repeatably with the objects you actually make.
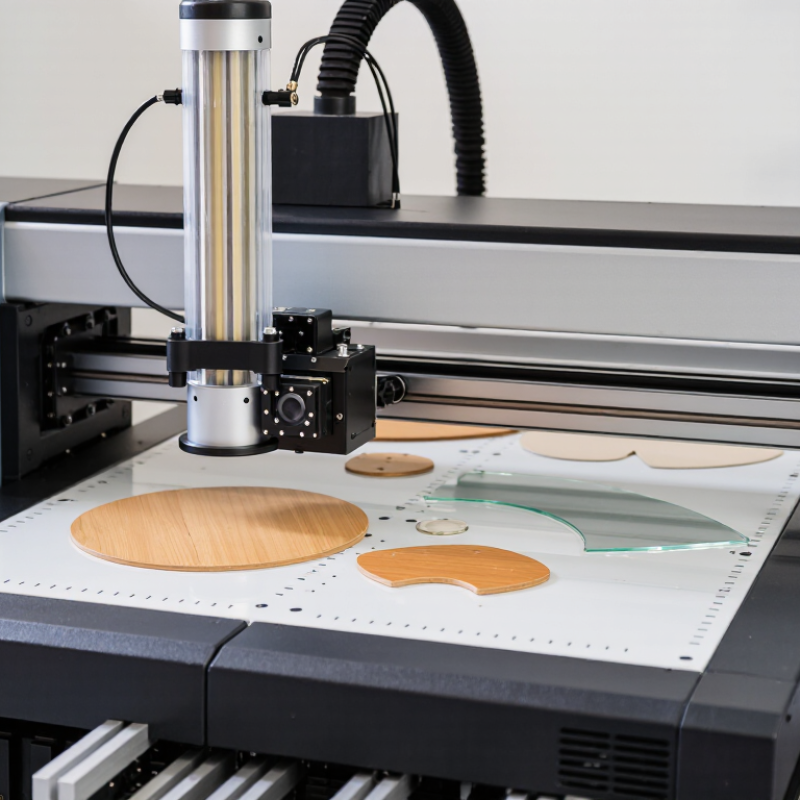
An A1 or A2 UV printer with visual positioning uses a camera to locate printed marks or the edges of an object before printing. A1 and A2 describe the supported print area, not the camera system. In practice, the camera captures the work surface, and software uses the image to align the artwork with the item. This can help when printing on phone cases, signs, or small batches of flat objects that are not placed in exactly the same position.
The setup still needs care. Place the item on a level table, keep its surface visible, and check that the camera can recognize the positioning marks. Reflections, uneven lighting, or a warped object may affect detection. A quick test print helps reveal small shifts before a full run. It is not magic. Some materials and shapes remain difficult to align, and camera calibration may need repeating after the printer or work surface moves.
Choose A1 or A2 based on the size of the items you expect to print, while considering the space needed around them for loading and positioning. Ask for a live demonstration using a sample similar to your own work. Watch how the system handles a slightly rotated item, not just a perfectly placed one. That detail tells you more than a brochure can.
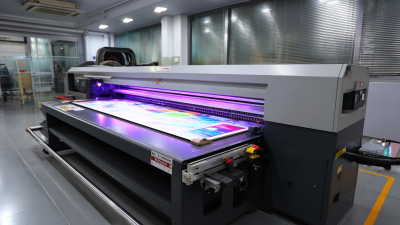
Visual positioning helps a UV printer place artwork where the object actually sits, rather than relying only on a preset coordinate. A camera captures the work area and detects printed marks, edges, or selected features. The software then aligns the digital design with those reference points before printing. Small correction, big difference.
On an A1 or A2 flatbed, this can be useful when decorating phone cases, panels, signs, or other items placed by hand. If a panel rests a few millimeters off-center, visual detection can adjust the print location without requiring the operator to measure every edge.
The UV ink is then deposited in the mapped area, helping text and graphics meet the intended surface. It does not fix every setup problem.
Reliable results still depend on a clear camera view, suitable lighting, and a stable object. Glossy surfaces can cause reflections, while dark or irregular edges may be harder to detect. Operators should check the preview and test alignment with a sample before running a full batch. I’ve found that careful placement still matters; the camera is helpful, but not magic. A slightly crooked item can confuse the reference points, so occasional manual correction remains part of the process.
A1 and A2 UV printers serve different production realities, even when both offer visual positioning. An A1 printer handles larger boards, posters, signs, and several smaller pieces in one pass. Its typical paper reference is 594 × 841 mm. An A2 printer uses a smaller 420 × 594 mm format, making it easier to install in studios, shops, and limited workspaces. Size affects more than the print bed. It also influences loading time, material storage, operator movement, and daily output.
Capacity depends on the machine’s usable bed area, print height, ink configuration, and curing system. A1 models can reduce cutting and repeated setup for larger jobs. A2 models may be more efficient for short runs, samples, customized gifts, and frequent design changes. Visual positioning can improve alignment on phone cases, plaques, and irregular objects. In practice, I once underestimated the value of loading space. The printer fit well, but nearby handling became awkward.
Tips: Measure your largest material, not your average material. Check the true printable area rather than the advertised machine size. Ask for positioning accuracy tests on textured and uneven surfaces. Review maintenance access, because a compact printer can still require generous service space. Also compare realistic hourly output, not only maximum speed. Faster is not always better when alignment or curing needs repeated adjustments. Small details matter. A clear workflow usually matters more than a larger specification sheet.
When choosing a Chinese UV printer, visual positioning deserves close attention. An A1 or A2 machine should identify artwork edges accurately, even on irregular sheets. Look for a stable camera, clear lighting, and software that corrects image distortion. A useful system should recognize white, dark, glossy, and slightly textured materials. Test registration with small text and thin borders. Tiny errors become obvious there.
Tips: Request sample prints on your actual materials. Check camera speed, positioning tolerance, and repeatability after several print cycles. Ask for videos showing real production, not only polished demonstrations.
Print quality is not the only concern. Inspect the table’s flatness, vacuum strength, and adjustable positioning pins. A weak vacuum can shift acrylic or coated boards during printing. UV curing should be even, without soft edges or uneven gloss. Confirm ink compatibility, printhead maintenance, and replacement procedures before ordering. Reliable technical support matters when calibration fails on a busy afternoon.
My experience is that attractive samples can hide practical weaknesses. One test may look perfect, but repeated alignment can drift. I would compare ten consecutive prints, record the offset, and inspect them under direct light. Also, leave room for improvement. Software interfaces may feel confusing, and promised tolerances may change with material thickness. A careful supplier should explain these limits clearly and provide training documents, spare parts guidance, and measurable acceptance standards.
A1 and A2 visual-positioning UV printers suit jobs where sheets, panels, or objects vary in shape and placement. A camera reads printed marks or edges, helping align artwork on phone cases, plaques, acrylic signs, wood panels, and short-run promotional items. That is useful in custom workshops: operators can place several differently shaped pieces on one bed instead of relying on a fixed jig. Still, camera alignment cannot correct every warped surface or inconsistent material thickness.
Market context
Grand View Research estimated the global UV printing market at USD 4.8 billion in 2022 and projected a 9.7% compound annual growth rate from 2023 to 2030. The report signals expanding use of UV printing, though it does not measure demand for A1 or A2 machines specifically. In practice, A1 beds are often chosen for larger display panels and batch layouts; A2 beds fit smaller studios, personalized gifts, and compact signage. Small runs matter. A 2023 Smithers report on digital print forecasts continued growth in digital print value, supporting demand for flexible, short-run production. Buyers should test their actual materials: glossy acrylic, dark wood, and curved items can challenge camera detection. A little trial work is unavoidable.