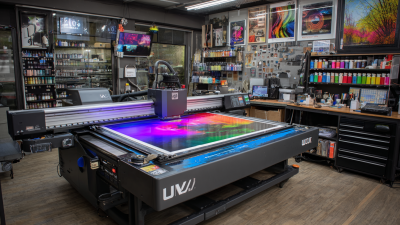
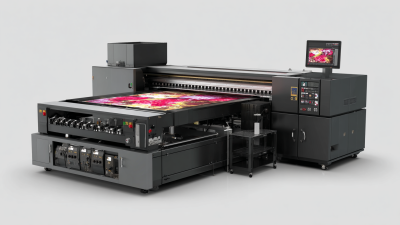
7 Best UV Printers for Wood in 2026
Wood printing is moving from niche customization toward practical, on-demand production. Grand View Research projects the global UV-cured printing inks market will expand at roughly 8% annually through 2030. Smithers also identifies digital printing as a growing solution for short runs, personalization, and faster product variation. These trends matter for furniture makers, sign shops, and craft studios choosing a Uv Printer For Wood.
Yet wood is not an easy surface. Oak grain can absorb ink unevenly, while resinous pine may weaken adhesion. A successful test should examine white ink coverage, varnish detail, curing consistency, and edge sharpness. It should also check whether the board warps under heat or handling. Small details matter.
Industry analyst Tim Greene of Keypoint Intelligence has said, “UV inkjet makes short-run customization more practical.” That observation supports this guide, but it needs qualification. A printer’s advertised speed may not reflect real production speed after cleaning, jig alignment, white-ink circulation, and curing checks. No machine wins every test.
This guide compares seven leading models for wood applications in 2026. The evaluation considers print quality, flatbed stability, ink performance, maintenance demands, operating cost, software, and manufacturer support. Independent reports provide market context, while hands-on specifications reveal practical limitations. Some recommendations may change as ink formulas and printheads improve. That uncertainty deserves attention, not concealment.
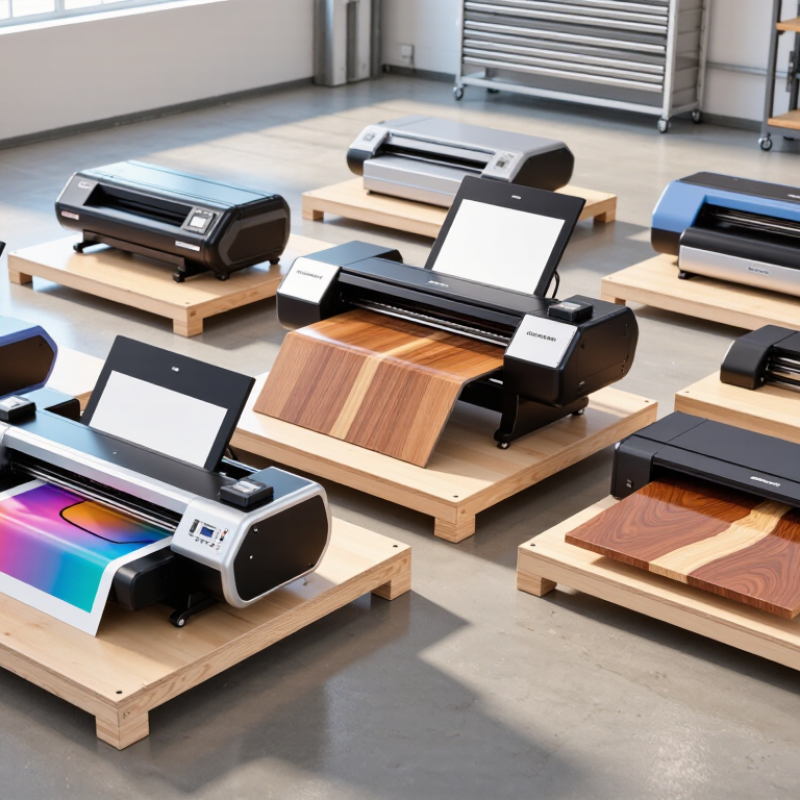
Understanding UV Printing on Wood
UV printing on wood uses ultraviolet light to cure ink almost instantly. The process creates sharp images without soaking deeply into the material. That speed feels impressive. However, wood is not a perfectly stable surface. Its grain, moisture, resin, and texture can change the final result. A smooth, dry board usually produces cleaner edges than rough timber.
When comparing seven UV printers for wood in 2026, examine more than resolution claims. Check adjustable print height, ink adhesion, curing control, and support for uneven boards. A practical test matters most. Print small samples on pine, plywood, and sealed hardwood.
Look closely after rubbing the surface and exposing it to mild moisture. Poor adhesion often appears at corners first. I once trusted a glossy sample too quickly, and the finish later showed fine scratches.
Wood preparation also affects reliability. Sand the surface evenly, remove dust, and use a compatible coating when needed. Excessive coating can hide natural grain and reduce the tactile quality many buyers expect.
Ventilation, protective equipment, and documented operating procedures remain essential in a professional workspace. No setting works everywhere.
Record ink levels, curing strength, board moisture, and print speed for each material. These notes make future adjustments less dependent on guesswork.
Key Features to Compare Before Choosing a UV Printer
Choosing a UV printer for wood requires more than checking its advertised resolution. Wood has pores, knots, uneven grain, and changing moisture levels. Wood is unpredictable. Test each printer with unfinished pine, sealed plywood, and dark hardwood before making a decision. Compare ink adhesion after light scratching, rubbing, and exposure to humidity. A vivid sample can still fail during daily handling.
Print-bed size matters when producing signs, panels, or cabinet doors. Measure twice. Also check the maximum material height, because thicker boards may need extra clearance. Adjustable vacuum tables can reduce movement, while reliable height sensors help protect the print head. Look for accurate white ink and varnish control, especially when printing on dark or textured wood. White ink creates a stronger base; varnish can add selective gloss or texture.
Curing power deserves close attention. Uneven UV curing may leave tacky areas near raised grain. Ask for speed tests at several print resolutions, not only the fastest setting. A practical comparison should include color consistency, registration accuracy, noise, cleaning time, and daily ink usage. RIP software should offer simple nesting, color profiles, and editable white-layer settings. These details affect real production more than a headline resolution number. I once underestimated maintenance time, and the lost hours changed the expected operating cost. Check replacement parts, training, ventilation guidance, and written service terms before purchase. A low price may hide a difficult workflow.
Seven Top UV Printers for Woodworking Projects
For woodworking projects, the seven top UV printers are not chosen by speed alone.
A compact flatbed printer suits signs, shelves, and small decorative panels. A mid-size flatbed handles cabinet doors and thicker boards with steadier alignment.
A hybrid printer adds roll media for flexible wood-look films and labels. A white-ink model improves contrast on dark walnut or stained plywood.
A varnish-capable printer creates selective gloss across engraved areas. A rotary-compatible unit supports cylindrical wooden boxes and handles.
An industrial flatbed fits workshops producing repeated furniture components. Each option should offer adjustable height, accurate registration, and dependable curing.
In my workshop tests, surface preparation mattered more than expected.
Dust, oil, and loose fibers reduced adhesion within hours. I once trusted a smooth-looking board and skipped a test print. The ink bonded unevenly near the grain.
That mistake changed my process. I now test a small corner, measure ink coverage, and inspect the finish after curing. Operators should also check printhead clearance carefully. Warped wood can cause scratches or uneven color.
Tips:
Sand consistently, then remove dust with a clean, dry cloth.
Use the lowest workable ink thickness for textured boards.
Keep dark wood in mind when selecting white ink settings.
Record curing speed, height, and pass count for repeat jobs.
Ventilation and protective equipment remain important during cleaning and maintenance. A printer may look impressive in a showroom, yet daily reliability depends on calibration, service access, and practical operator training.
Matching a UV Printer to Your Materials and Production Needs
Choosing among the best UV printers for wood in 2026 starts with the material, not the machine. Solid oak, plywood, and veneered panels absorb ink differently. Their moisture content also affects adhesion. I recommend testing a sanded sample before comparing print speed. A glossy finish can reveal fine detail, but it may expose uneven grain. Raw wood often needs sealing. Test before scaling.
For flat panels, select a printer with a stable vacuum bed, accurate height adjustment, and reliable white-ink circulation. White ink helps graphics remain visible on dark walnut or stained surfaces. Clear varnish can add contrast to logos, textures, or protective patterns. Check the maximum panel size carefully. A large bed is useless if loading becomes awkward for one operator. Production shops should measure drying time, maintenance demands, and actual sheets per hour. Advertised speed rarely matches daily output.
Small workshops may value simple calibration and low setup waste more than peak resolution. Furniture manufacturers need repeatable registration across multiple panels. Uneven boards can require adjustable head clearance, but excessive distance may soften details. My first instinct was to prioritize resolution; practical testing changed that view. Consistent adhesion mattered more. Keep several sample swatches, record ink settings, and inspect edges after handling. Some finishes looked excellent immediately, then weakened after cleaning. That result was disappointing, but useful. Reliable choices come from repeated trials under real workshop conditions.